 |
|


05-26-2010, 05:57 PM
|
 |
Hummer Professional
|
|
Join Date: Nov 2008
Posts: 261
|
|
 Painting chrome?
Ok, so I want black hood handles and gas lid, not chrome. Has anyone tried painting chrome? Can it be roughed up enough for anything to stick, or would it be better to try and find someone who wants to trade their black parts for my chrome?
Also, my chrome wheels are starting to bubble on the back side, so I know it is only a matter of time until it gets to the outside. Any fixes for this? I imagine it would be a big deal to try and get the chrome stripped off the wheels. I would like black wheels eventually, but I don't have the money to buy wheels right now. This is why I don't like chrome wheels. They peel!
__________________
2005 H2 SUV - Stealth Gray with Ebony interior - Third row - Exterior tire carrier -
Mirror caps - black bedliner
Roof rack rails - black bedliner
Wheels - Black bedliner on stock wheels
Gas cap lid - still chrome but will soon be black bedliner
Tail light guards - still chrome but will be black bedliner
Grill - Still chrome but will be black bedliner
Hmmmm, is there a pattern developing here?
|
05-26-2010, 07:49 PM
|
|
Banned
|
|
Join Date: Feb 2010
Posts: 131
|
|
Re: Painting chrome?
I painted my chrome grill and fuel cap black. I went to my local auto paint supply store and they provided me with the correct info and supplies. They said to only "scuff up" the chrome with a scotch brite pad, not sand paper. The scoth brite pad sort of dulled the crome and didn't leave any deep scratches that would show after painting. They also sold me a etching primer. They said to spray 3 thin coats for proper bonding. I then sprayed the chrome with the flat black paint. I have washed the vehicle several times since painting the chrome. I have scrubbed smashed bugs off of the grill, and the paint looks as good as it did the day I painted it.
Hope this helps.
Scott
|
05-27-2010, 02:26 AM
|
|
Hummer Professional
|
|
Join Date: Nov 2008
Posts: 261
|
|
Re: Painting chrome?
Ok, thanks. That sounds promising. I am trying to decide what I want to do with the grill. I will either go black, and color match the HUMMER letters to the body color, or color match the grill with black letters. I'm not sure yet.
__________________
2005 H2 SUV - Stealth Gray with Ebony interior - Third row - Exterior tire carrier -
Mirror caps - black bedliner
Roof rack rails - black bedliner
Wheels - Black bedliner on stock wheels
Gas cap lid - still chrome but will soon be black bedliner
Tail light guards - still chrome but will be black bedliner
Grill - Still chrome but will be black bedliner
Hmmmm, is there a pattern developing here?
|
05-27-2010, 02:32 AM
|
|
Banned
|
|
Join Date: Feb 2010
Posts: 131
|
|
Re: Painting chrome?
I had a difficult time deciding also. I just went online and looked at pictures of other peoples H2's and decided to go with the clack grill and the body color matched HUMMER letters. The letters are easy to remove, just heat them up with a hair dryer and you can peel them off. Also use the hair dryer to remove the left over glue that sticks to the grill.
Scott
|
05-27-2010, 10:29 PM
|
|
Hummer Guru
|
|
Join Date: Oct 2005
Location: Charlotte, NC
Posts: 2,767
|
|
Re: Painting chrome?
If you're painting "plastic" chrome, you can scuff and use a self etching primer on it before painting it.
If it's chrome on real metal (ie. bumper) the ONLY way to do it and expect it to stick is to so sandblast it so it has a texture so you can prime.
H2 grilles are plastic coated chrome so they're not a big deal.
HTH's,
Mark |
05-27-2010, 11:11 PM
|
|
Banned
|
|
Join Date: Feb 2010
Posts: 131
|
|
Re: Painting chrome?
Mark, Awesome looking SUT.
|
05-27-2010, 11:45 PM
|
|
Hummer Guru
|
|
Join Date: Oct 2005
Location: Charlotte, NC
Posts: 2,767
|
|
Re: Painting chrome?
Quote:
|
Originally Posted by snmazer
Mark, Awesome looking SUT.
|
Thanks bud, will be much when I get it back from CA.
Mark |
05-27-2010, 11:55 PM
|
 |
Hummer Veteran
|
|
Join Date: Oct 2009
Location: Washington
Posts: 147
|
|
Re: Painting chrome?
Looking good Mark, I'm going to paint my grill soon. Did you remove the HUMMER lettering or just mask off? Also what paint code was the white you used?
|
05-28-2010, 12:04 AM
|
|
Hummer Guru
|
|
Join Date: Oct 2005
Location: Charlotte, NC
Posts: 2,767
|
|
Re: Painting chrome?
Quote:
|
Originally Posted by The_Yeti
Looking good Mark, I'm going to paint my grill soon. Did you remove the HUMMER lettering or just mask off? Also what paint code was the white you used?
|
No, you remove the lettering first. I bought a new set to replace afterwards.
And the white was whatever the factory code was... I don't recall at the moment.
Mark |
05-28-2010, 02:04 AM
|
 |
Hummer Veteran
|
|
Join Date: Mar 2010
Posts: 107
|
|
Re: Painting chrome?
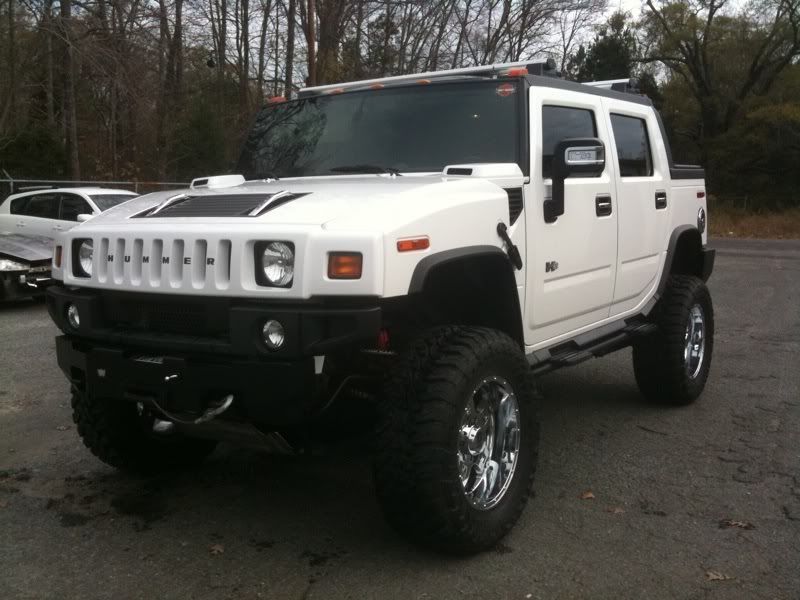
I painted my chrome rims, door handles and mirrors black and my chrome grille white. Here is a step by step of how I did it. Step 11 & 12 are optional. If you want to clearcoat them.
Step 1:
Wash the chrome piece with basic soap and water and dry thoroughly.
Step 2:
Sand the entire piece with 220- to 320-grit paper and use 120- or even 60-grit for specific areas if you have deeper scars, rust or pits, since you "must" get below any damaged spots. A pit in the chrome left alone will pop out in no time and ruin your paint. You may even need to use a grinder if the 60-grit paper will not get you below the damage. Follow up on the entire piece with 320-grit paper with your object being to have minimal scratching from the previous sandpaper ending with a 320-grit finish. Always wear safety glasses if you use a grinder.
Step 3:
Fill in any low spots in the metal from deep sanding or grinding either with liquid steel from a tube or glazing compound if the fill in area is less than 1/8-inch deep. Once compounds are dry, sand level to original surface with a heavier grit and follow up with 320 grit.
Step 4:
Using a clean cloth of tack rag, wipe the piece off to completely remove all sanding dust and then wipe down the piece with either lacquer thinner or wax remover.
Step 5:
Put on your face mask and spray the entire piece with the self-etching primer. Two light to medium coats will do. Allow to dry between coats. This special primer will grip to the metal and prepare you for regular primer and paint.
Step 6: Once the self-etching primer is dry, spray 2 to 3 coats of the high build primer over it, always allowing each coat to dry before applying another one.
Step 7:
Inspect the piece visually and also by rubbing your hand over it, and use glazing spot putty to fill in any remaining flaws or pinholes in the primer once it is dry. You can get a better feel for flaws if you wear a cloth glove and run your hand over the piece slowly.
Step 8:
Sand any glaze down with 220- or 320-grit paper and then sand down the entire piece, including the edges, with 600-grit paper so that you end up with a very smooth finish. Be sure to sand down any runs you may have from the primer. Chips or flaws will show up even more once paint is applied, so spend time here to obtain a smooth surface.
Step 9:
Wipe down the piece again either with lacquer thinner or a wax and grease remover. Any oils, dust or debris on the piece right before painting will affect your paint job in a negative way. You don't want to remove the primer, so just a once-over should suffice.
Step 10:
Spray 2 to 3 light to medium coats of the paint, being very careful not to let the paint run. The nozzle head should be approximately 8 to 10 inches from the target, and it is better to spray in even spurts rather than holding the nozzle down the whole time, which would more likely give you runs and heavy spots. If you develop any runs, you will have to wait until the paint is completely dry--probably by the next day--and sand the runs down with fine grits of 1,000 to 1,500 and respray the piece.
Step 11:
Spray 2 to 3 coats of the clear coat finish over your paint once it has dried at least 15 to 30 minutes. Be sure you have good lighting for this, since the clear will not show a color to follow but only a shine on the sprayed areas. Sometimes you have to observe your work from an angle.
Step 12:
Let the clear coat dry for 2 to 3 days, and then you can use a very fine rubbing compound to give you a very smooth, flat finish which will remove any small flaws, runs and bumps from the clear coat. The compound will also provide a brilliant shine. Apply the compound with a wax applicator, let set a minute or two, and then buff out by hand (or you may decide to use a power buffer with a wool pad if it is a larger piece). You may now also apply your favorite wax after the compound to further enhance the shine and offer more protection to your finish.
Before:
 After:


__________________
Rancho 4" lift-Rancho Dual Shock-MC2 Rims-Mud Grapplers-Gobi roof rack-Piaa Offroad light-Piaa FU lights-10"TV-Brushguard-Gobi ladder-Taillight guards-Hi-Lift Jack-PC Swaybars-Custom stereo-Blacked out taillamps, blinkers, marker lights and Roof marker lights-Purple Cranium Spider-License plate mod-Magnaflow Hi-Flow Cats & Cat Back Exhaust-DRL Mod-Cb w/Dual Whips
|
05-28-2010, 12:42 PM
|
|
Hummer Veteran
|
|
Join Date: Oct 2009
Location: Washington
Posts: 147
|
|
Re: Painting chrome?
Nice write up Hummeron37s, Anyone know if there's anything tricky to removing the grill? I've heard its just four easy screws and it comes right off. Ofcourse once you've removed the brush guard I guess.
|
05-28-2010, 04:00 PM
|
 |
Hummer Authority
|
|
Join Date: Jul 2005
Location: FLORIDA
Posts: 1,055
|
|
Re: Painting chrome?
Hummeron37s, great write up.
I researched the same topic and within minutes I found many have successfully painted chrome using a product called "Bulldog Adhesion Promoter".
__________________
\'05 Black LUX SUV,air, nav,roof
20in Kaotik NT-1s with 35x13.50Pro Comp Xtreme All terrain
|
05-31-2010, 01:04 AM
|
|
Hummer Veteran
|
|
Join Date: Aug 2009
Posts: 68
|
|
Re: Painting chrome?
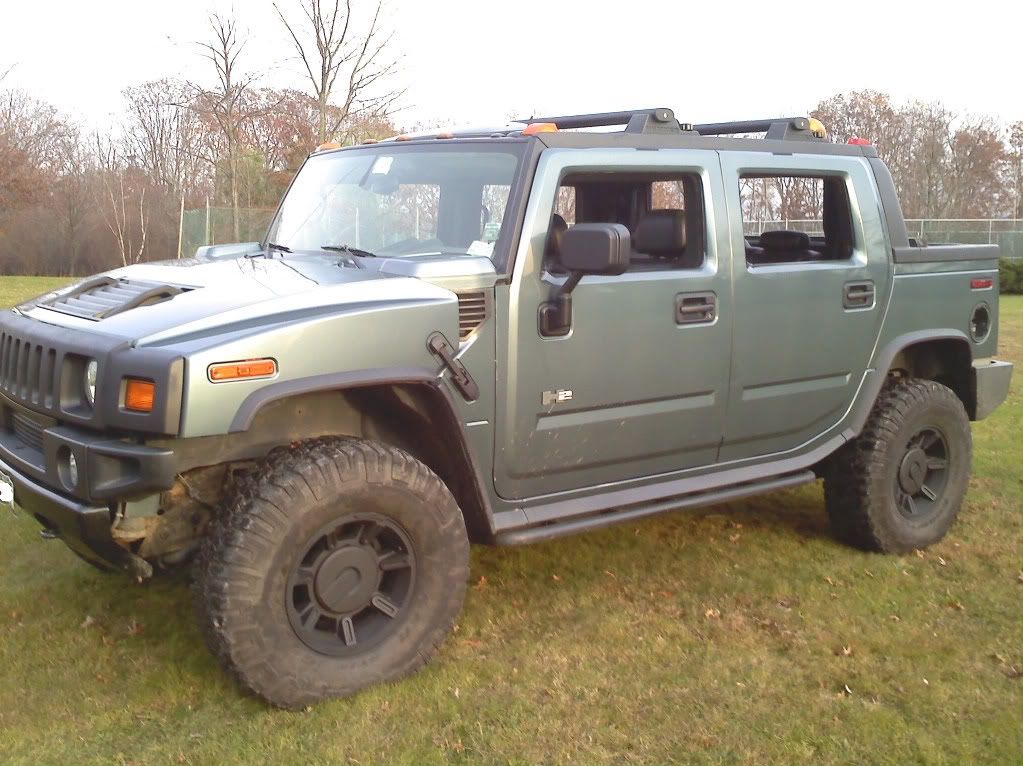
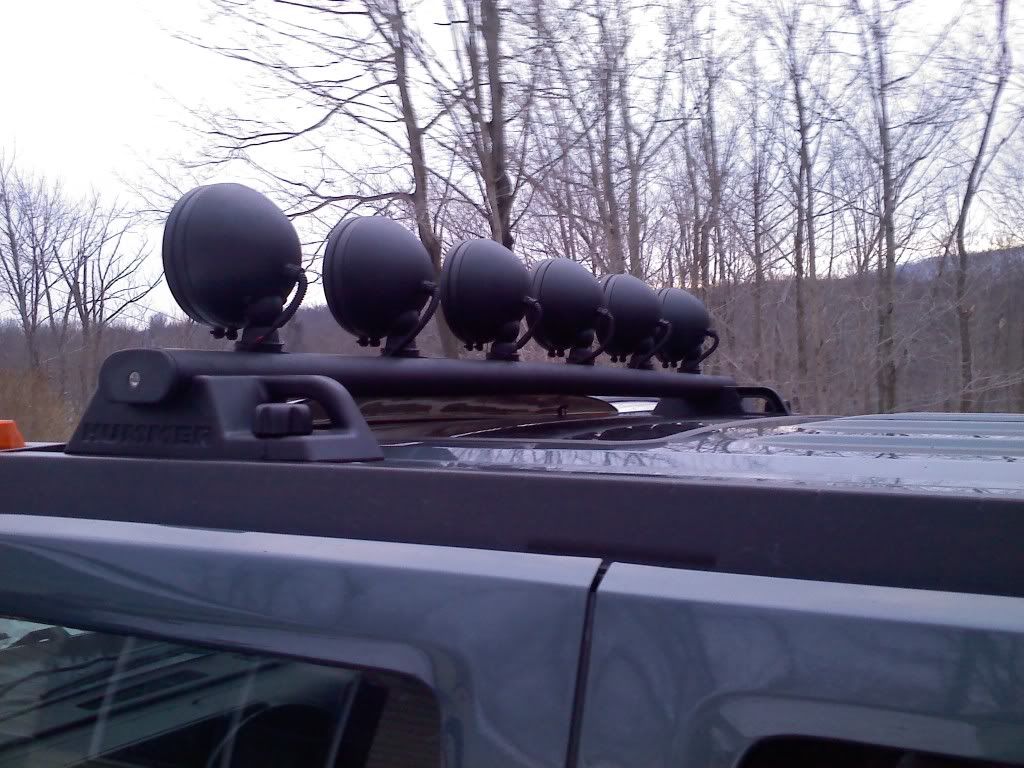
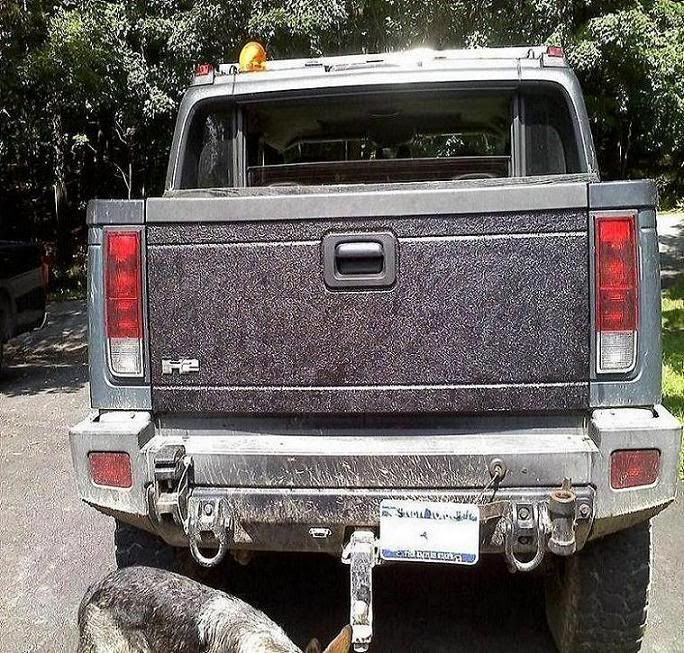
All of my chrome was painted flat black or sprayed with bedliner. Paint on door handles, hood handles and latches, wheels,mirrors....
Bedliner sprayed on roof racks, grill. Rolled bedliner on the tailgate.
 |
| Thread Tools |
Search this Thread |
|
|
|
| Display Modes |
 Linear Mode Linear Mode
|
 Posting Rules
|
You may not post new threads
You may not post replies
You may not post attachments
You may not edit your posts
HTML code is Off
|
|
|
All times are GMT +1. The time now is 01:04 PM.
|


